
The Risograph works much like a photocopier, but the outcome colour of your design is determined by the colour of the drum/s loaded rather than the colour of your artwork.
Your artwork is scanned, then a stencil of your artwork is created and placed onto the assigned colour drum where ink is pushed through the small holes of the stencil onto the passing paper. This stencil is called a ‘Master’

Booking
Print your designs off and bring them to your booking.
Use the link below to book a slot to use the Risograph. Slots are 1 hour but for big jobs, 2 consecutive bookings may be best to allow for drying time between runs.
Use the link below to book a slot to use the Risograph. Slots are 1 hour but for big jobs, 2 consecutive bookings may be best to allow for drying time between runs.
A Print Technician will be on-hand during your booking.
Masters are £2 each and you can print up to 30 copies
Masters are £2 each and you can print up to 30 copies
80gsm paper provided - Bring any 'nice' A3 paper you may want to print onto
Click here or email us
PrintSupport@NTU.ac.uk
Subject - 'Riso Booking'
We will be in touch to arrange a time and day that suits you.
Pricing
Standard Colour Masters are charged at £2 each, and you can print as many copies as you need, from your Master.
Custom Colours Mint & Metallic Gold are charged at £4 per Master
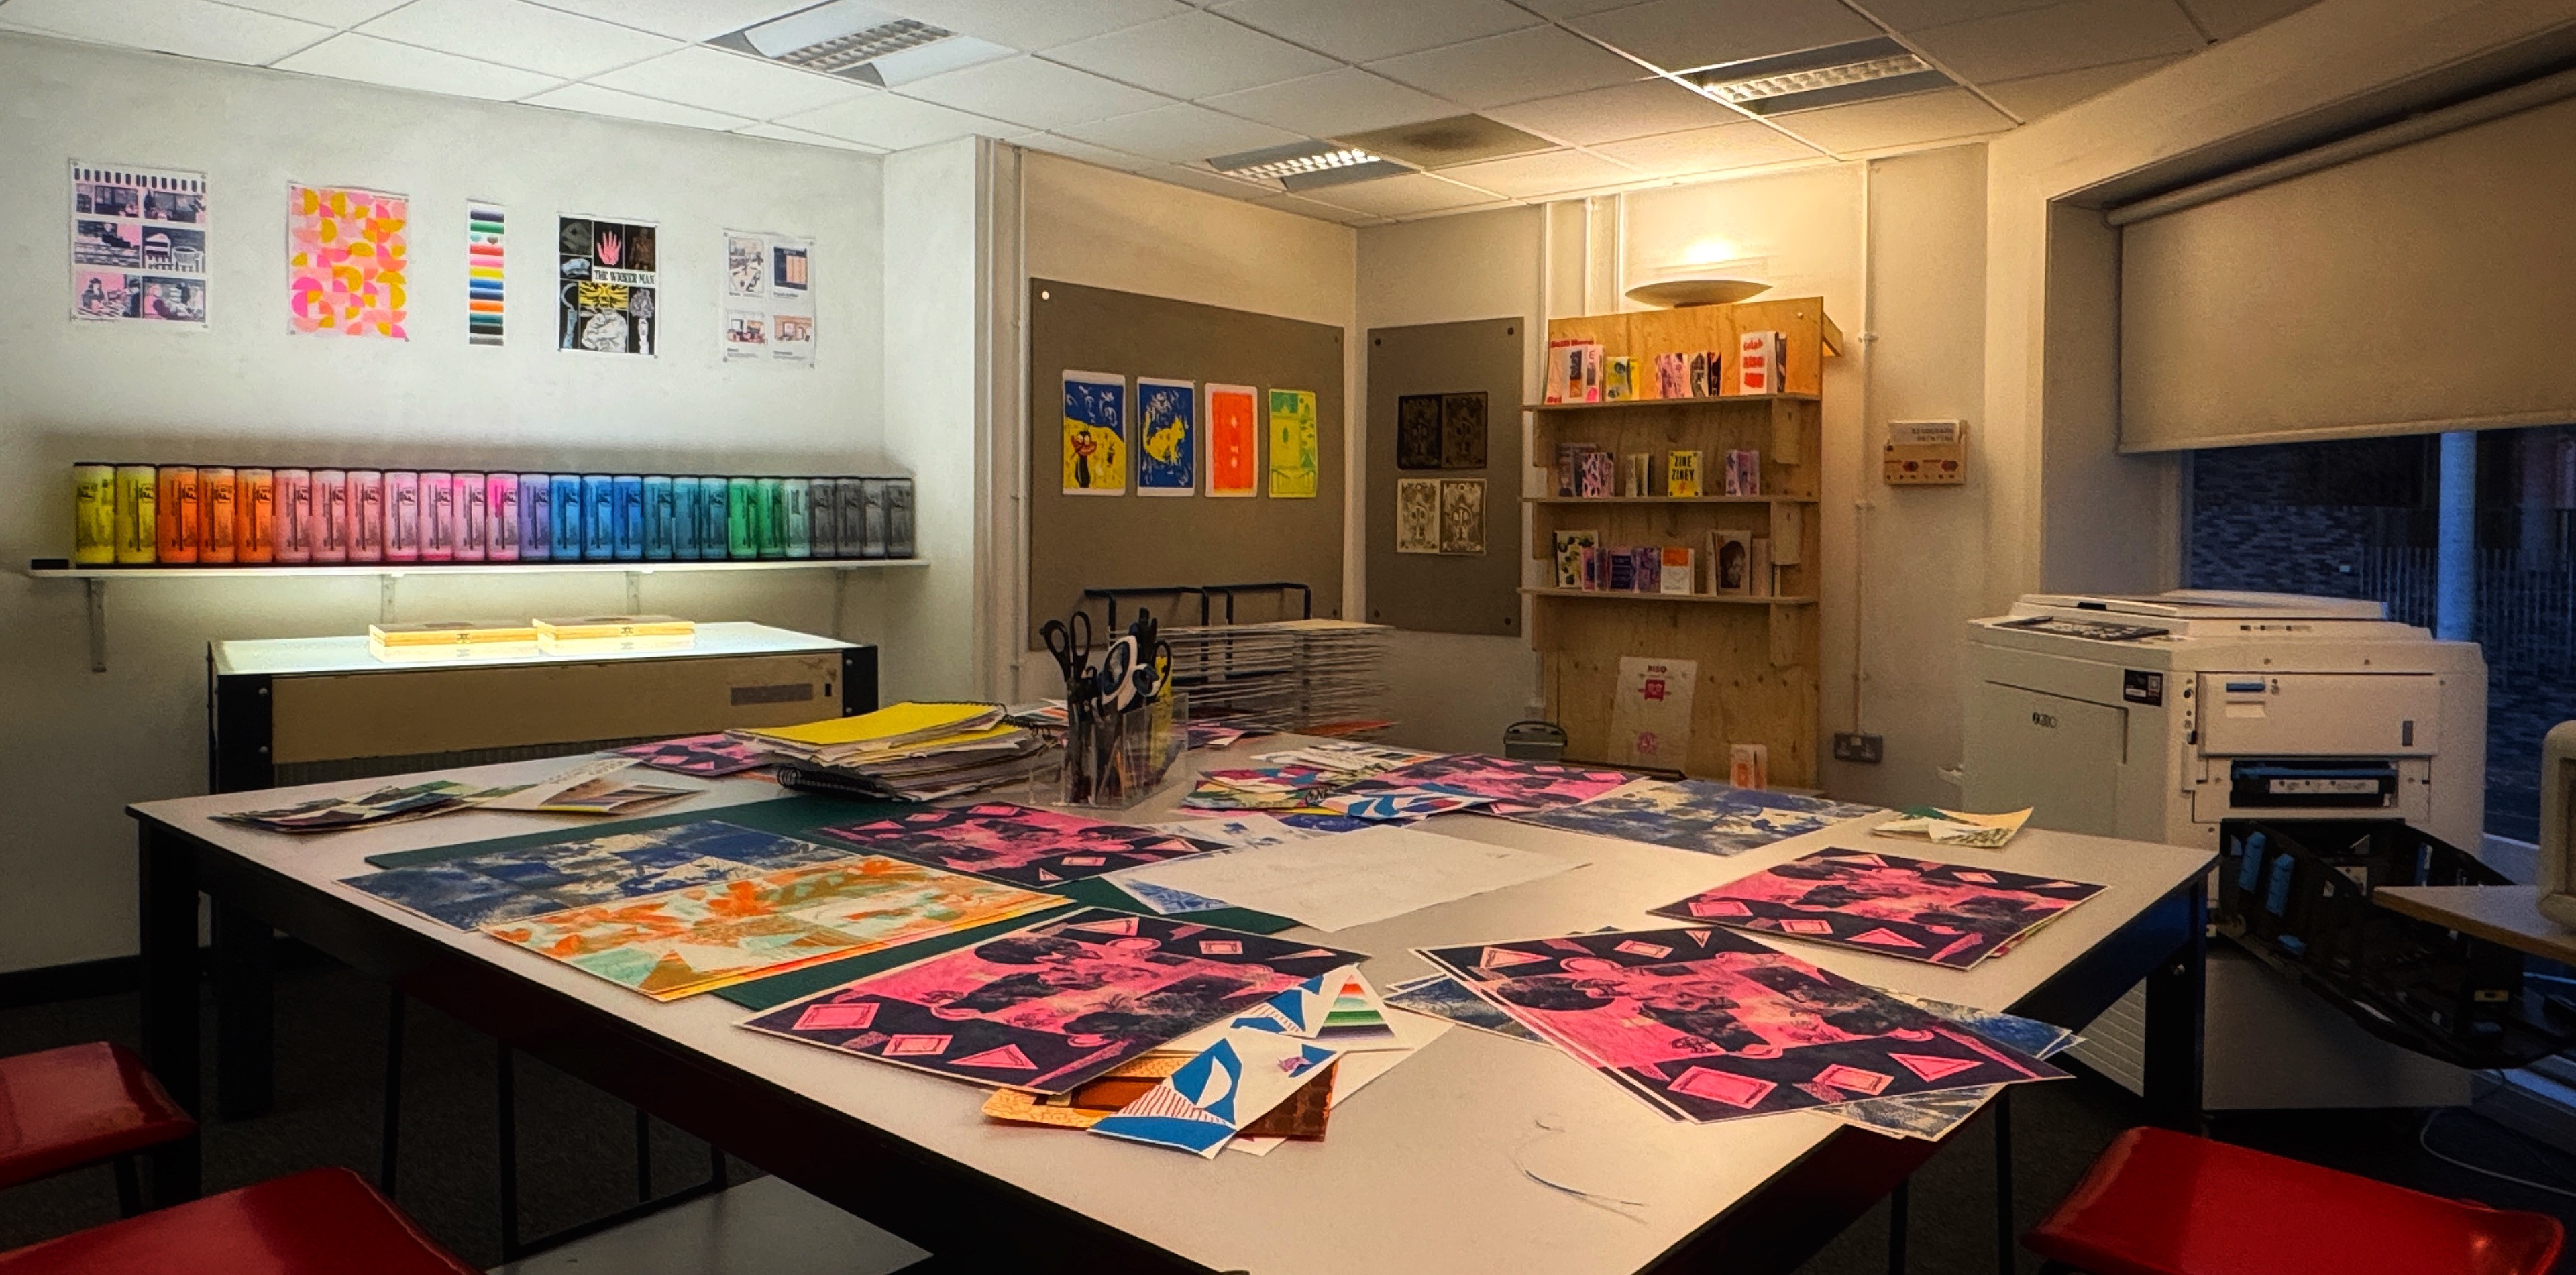
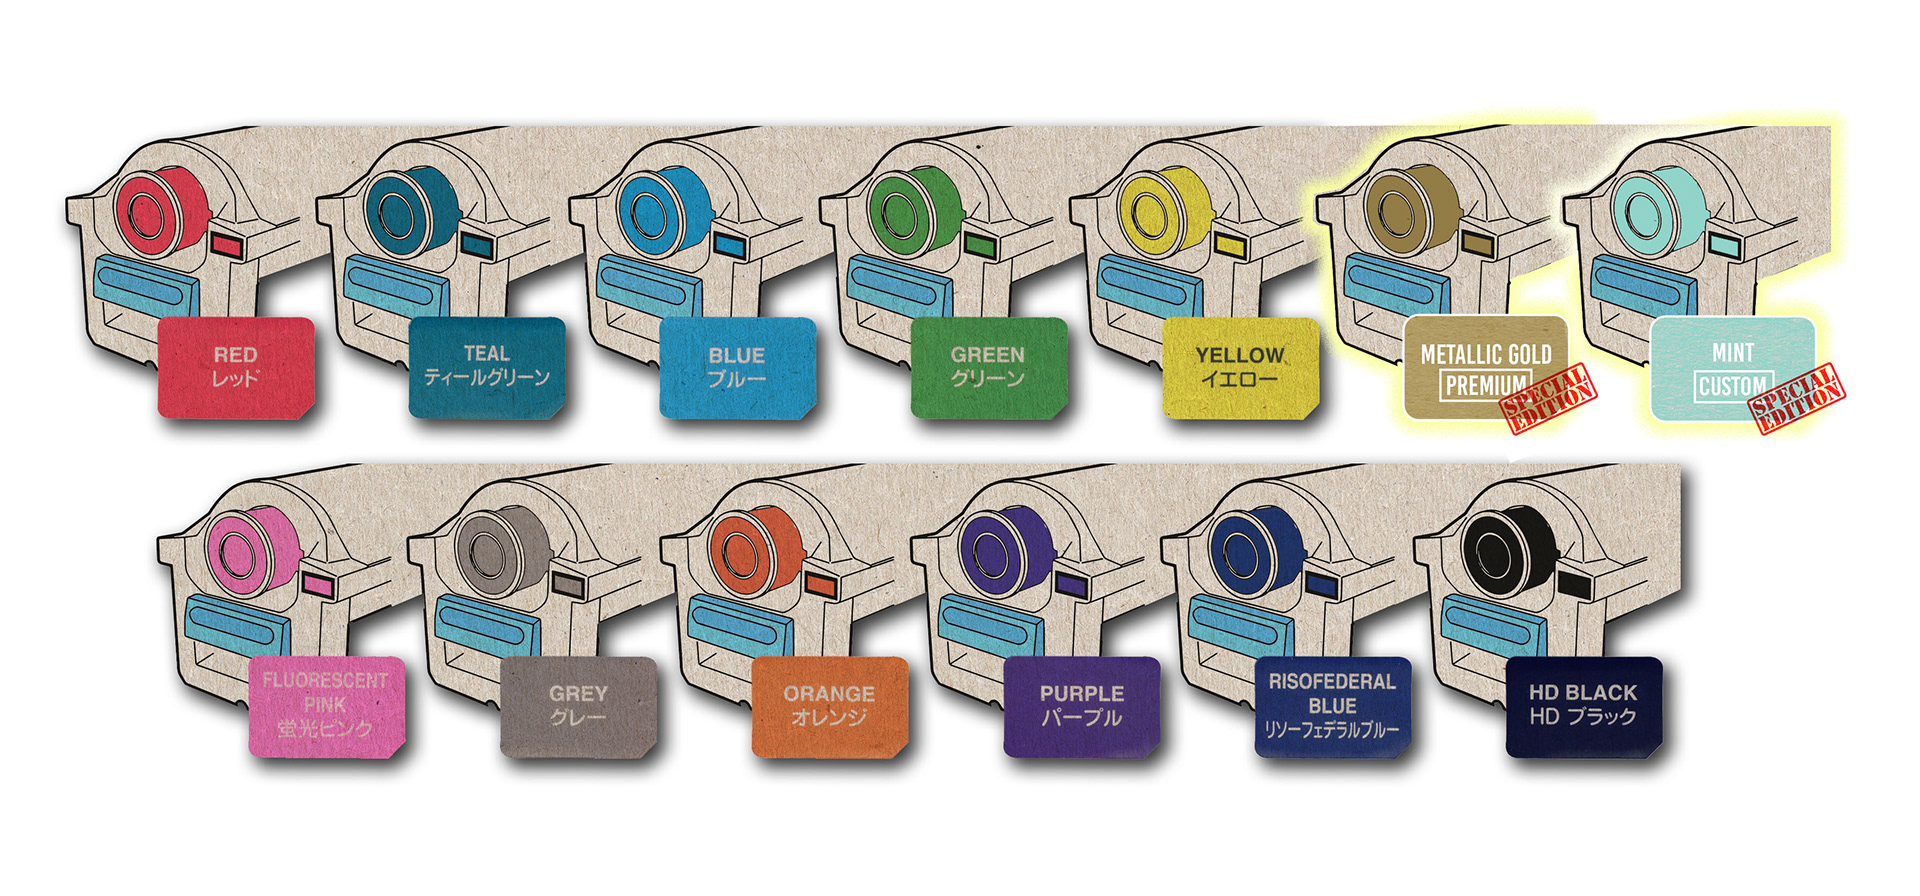
Available Colours
The Riso can be used to print a range of colours. On occasions, due to supply issues stock can run out. Please check here for an up-to-date list of the available colours.
Standard Colours [£2 per Master]
Grey | Red | Teal | Black | Blue | Yellow | Orange
Fluorescent Pink | Federal Blue | Purple | Green
Custom Colours [£4 per Master]
Mint | Metallic Gold
Artwork Guide
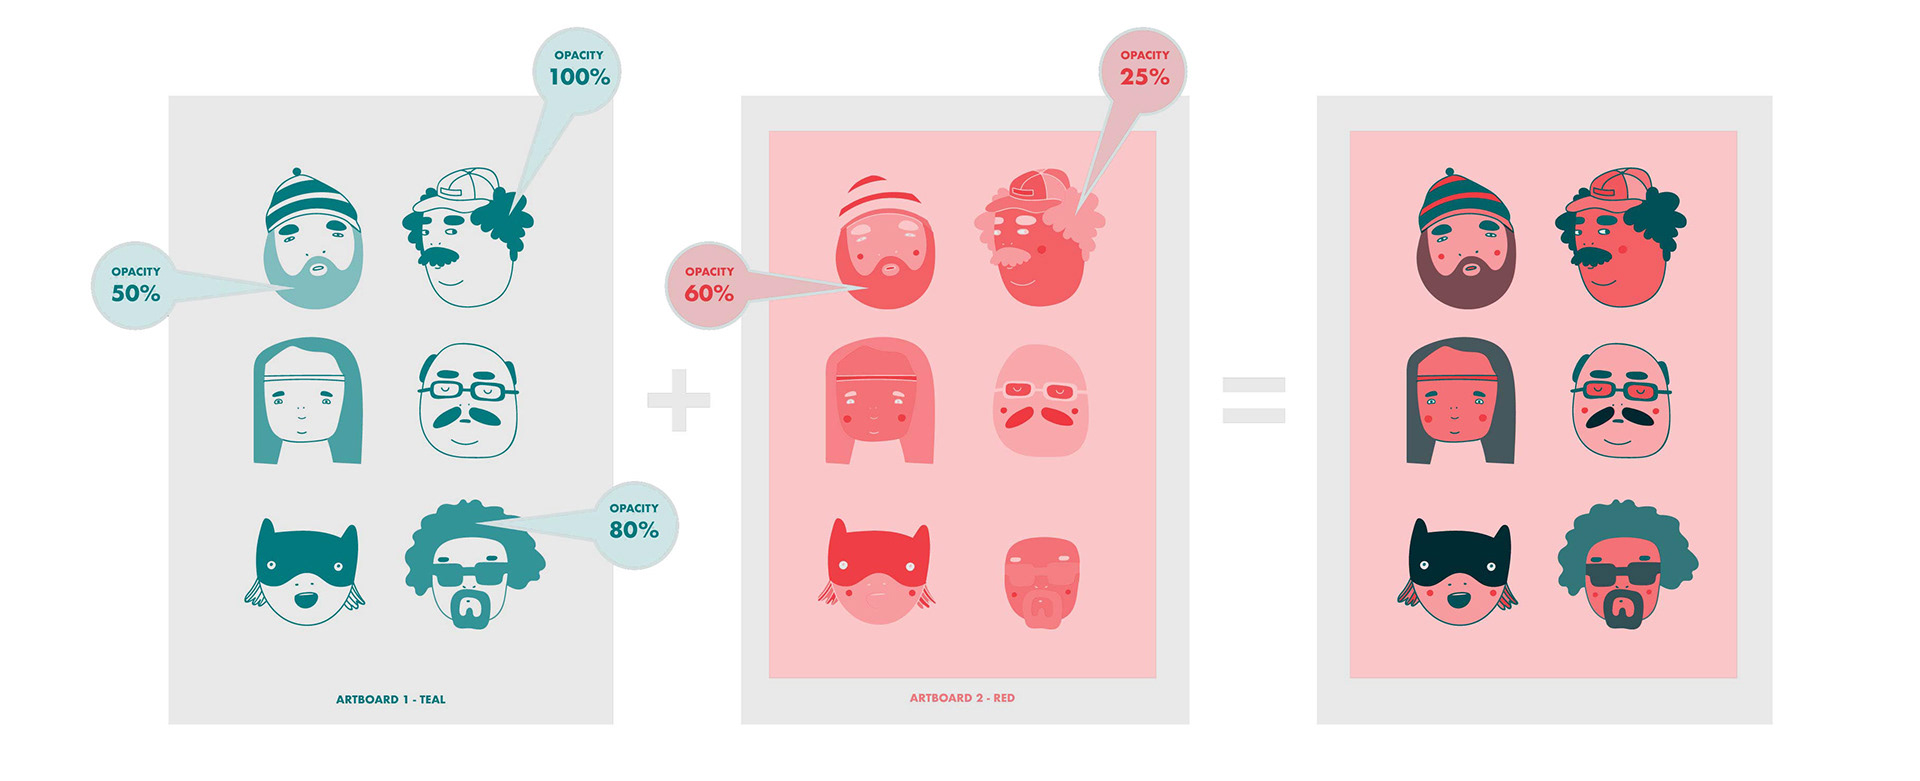
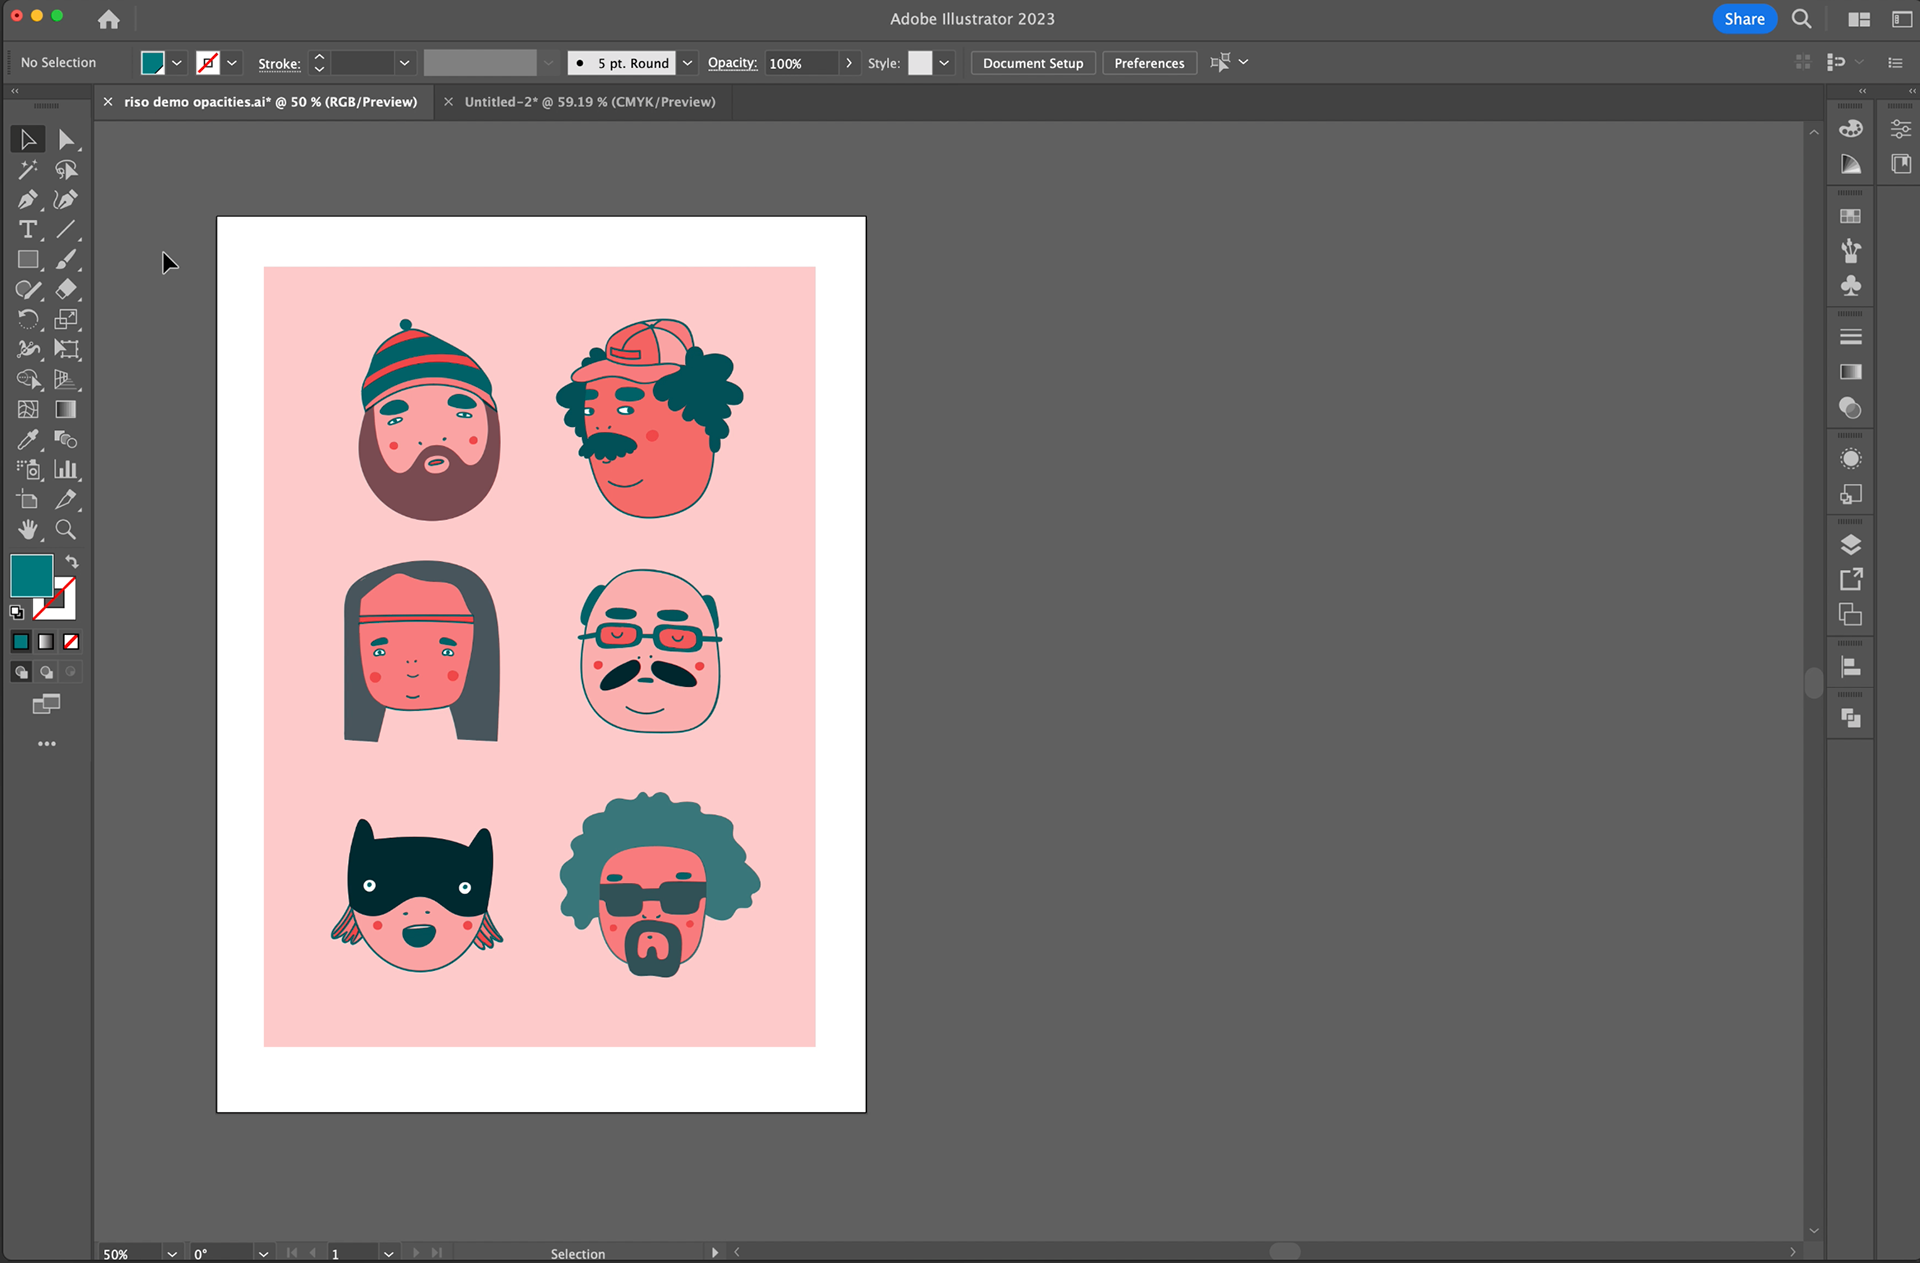
Here we will separate a 2-colour design into 2 pages using Adobe Illustrator. The parts we want Red on one page, and Teal on the other. We’ll then turn both parts of the design black (for improved detail) ready to scan on the Risograph. This design will require 2 Masters.
Your design can contain multiple Opacities of the 2 colours. This adds different intensities of colour to your artwork. Where colours overlap, a blend of the 2 colours will be generate a 3rd colour.
*A way of previewing how overlayed colours might look is by changing the 'Opacity Mode' from 'Normal' to 'Multiply'
There are many ways to prepare artwork for the Risograph, with Adobe Illustrator being just one of them. Photoshop is also a good option and by using layers, you can split a design ready to print in the desired colour.
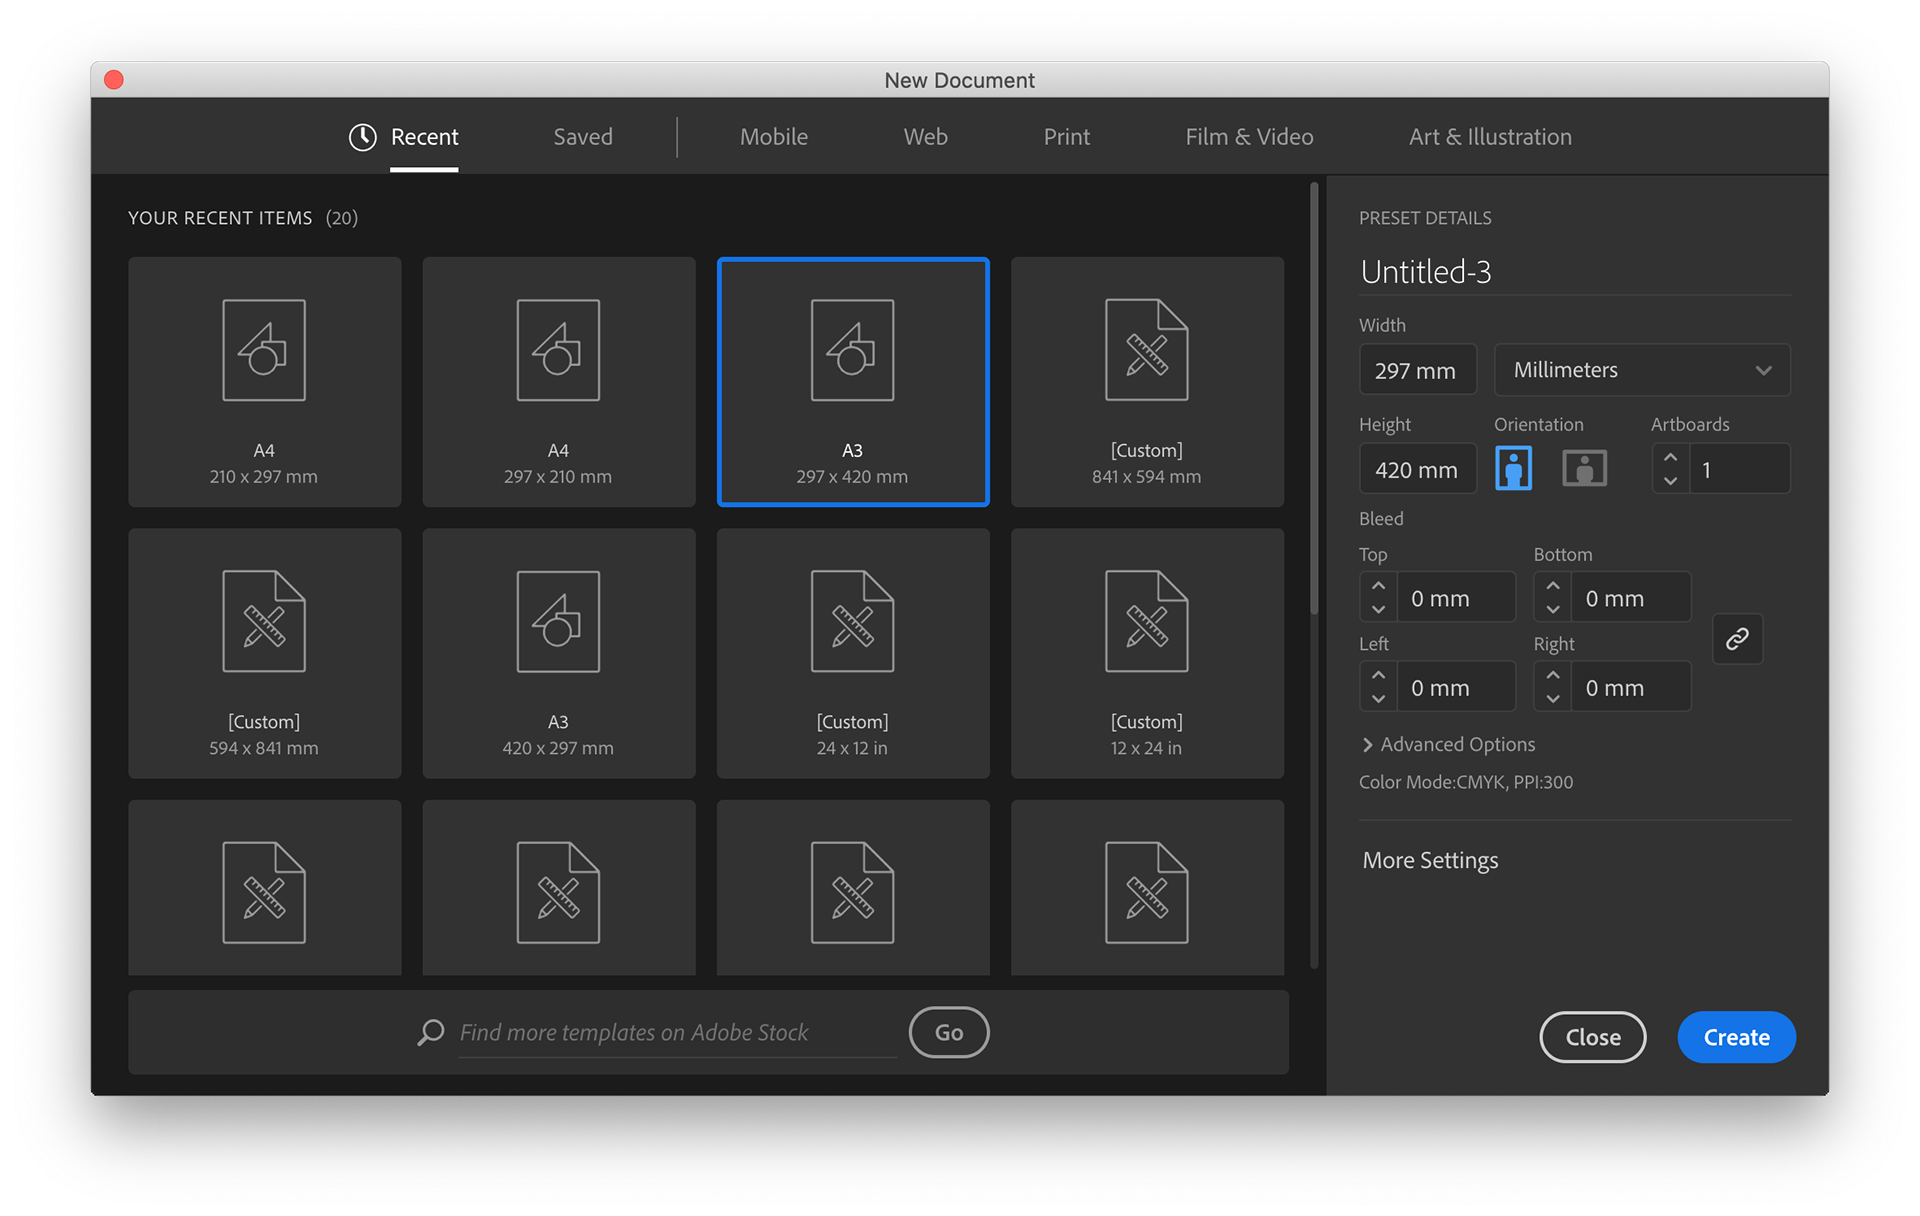
1
Open Adobe Illustrator and create an A3 page. A3 size can be found under the ‘Print’ Tab of the ‘New Document’ window.
2
Get your completed 2 colour 'Vector' artwork onto the A3 Art board. For this demo we will need a 2 Colour design.
3
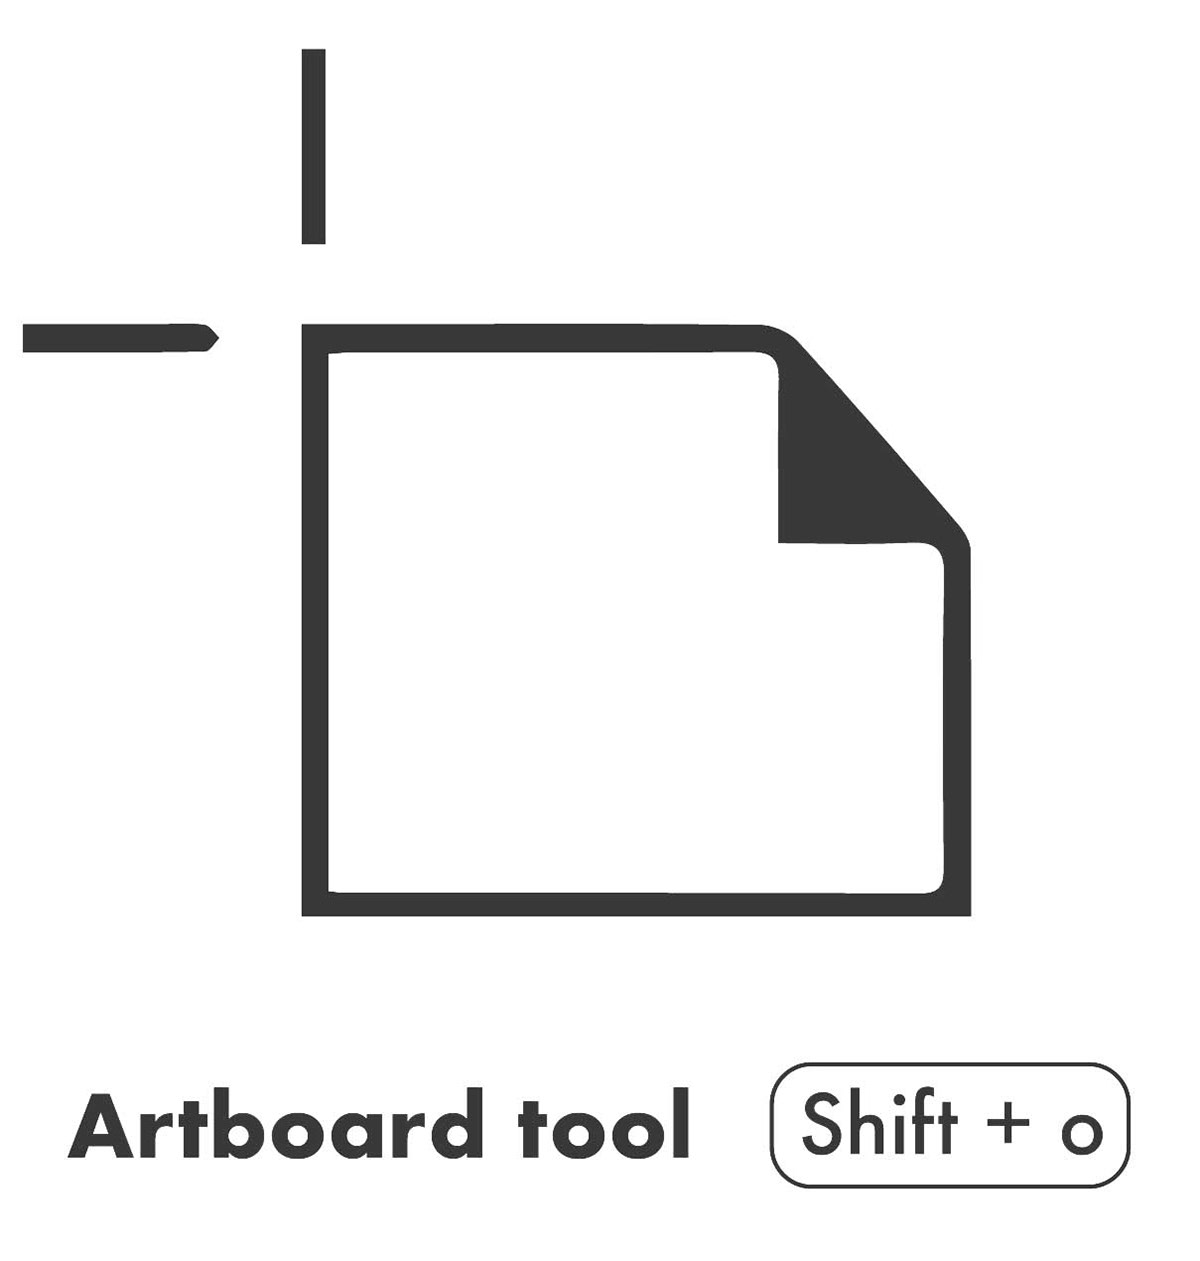
Once your image is in the desired position, select the ‘Artboard Tool’ and copy the Artboard by holding down 'option' key before dragging ‘Artboard 1’ beside itself.
You now have 2 copies of your artwork, each in the exact position as each other and on their own Artboard, so don't move their position.
(Although for this demonstration we are only using 2 colours, you can copy a 3rd artboard should your design require 3 colours)
You now have 2 copies of your artwork, each in the exact position as each other and on their own Artboard, so don't move their position.
(Although for this demonstration we are only using 2 colours, you can copy a 3rd artboard should your design require 3 colours)
4
Now, using the Magic Wand, select everything that is Teal by clicking on a Teal part of your artwork
5
Using the eraser tool, rub away Teal from Artboard 1.
*Pressing {[ or }] will change the Eraser size.
Now use your Magic Wand to select the Red, then use the eraser to remove the Red from Artboard 2.
You’ll now have the Red part of your design on Artboard 1 and the Teal part of your design on Artboard 2.
6
Turn your 2 colours to black by using the ‘Magic Wand’ to select the Teal colour, once selected go to the swatch panel and recolour your selection black and do the same for the Red.
Now save your file as a .PDF (‘Use Artboards’ & ‘All’)
Now save your file as a .PDF (‘Use Artboards’ & ‘All’)
Finally
Print both designs Each on their own A3 and bring them to your booking.
Use the link below to book a slot to use the Risograph. Slots are 1 hour but for big jobs, 2 consecutive bookings may be best to allow for drying time between runs.
Use the link below to book a slot to use the Risograph. Slots are 1 hour but for big jobs, 2 consecutive bookings may be best to allow for drying time between runs.
Riso inks are not fully opaque, meaning when 2 images overlap, different colours are created. This is known as overprinting or overlaying and can be creatively used to get extra colours from just 2 drums.
Examples of this are shown on the Colour Overlay Guide which can be downloaded by clicking the button below.


Tips
The Riso can not print borderless A3. Give your artwork 7mm around the page to be safe
•
Paper Stock = 46gsm - 210gsm
•
The Risograph uses Soy based inks which helps towards its all-round energy efficiency. Producing very little waste and by using a recycled paper stock, this machine is on the greener side of printing.
•
Perfectly Imperfect – Don’t expect perfection. Each print will differ very slightly from the last depending on paper stock, ink coverage and its common trademark – ‘the roller mark’.
•
Great for zines, duplicating & mass production or even just adding texture to a scan.
•
Designs containing lots of layers and/or colours can be costly.
•
Colour Overlay - Achieve more colours from just 2 drums by overlaying colours, and/or giving parts of your artwork different opacities, making the drum colour lighter or darker. For example, by printing ‘50% Opacity’ red on top of ‘50% Opacity’ teal, this has generated a new colour resembling burgundy colour.
•
Overprint outcomes are demonstrated on the overlay chart.
•
Artwork doesn’t always have to be created on a computer. Scanning collage or drawings can produce great results.
•
When designing artwork, colour overlays can be emulated by changing the ‘Opacity Mode’ of desired artwork from ‘Normal’ to ‘Multiply’. This can be done in both Ps and Ai.
•
Light-boxes are useful for checking registration and seeing which parts of a 2 layer design will overlap.
•
Advanced techniques such as 'Trapping' usually used for screen printing artwork can be used to improve registration.
•
If you are using Metallic Gold, it can look great on Black paper stock!
Folding a ZINE

Follow these steps to fold and cut an 8 page Zine
Want an Introduction?
Register your interest for an induction using the button below. We will then contact you as soon as a space is available on one of our workshops : )
Register your interest for an induction using the button below.