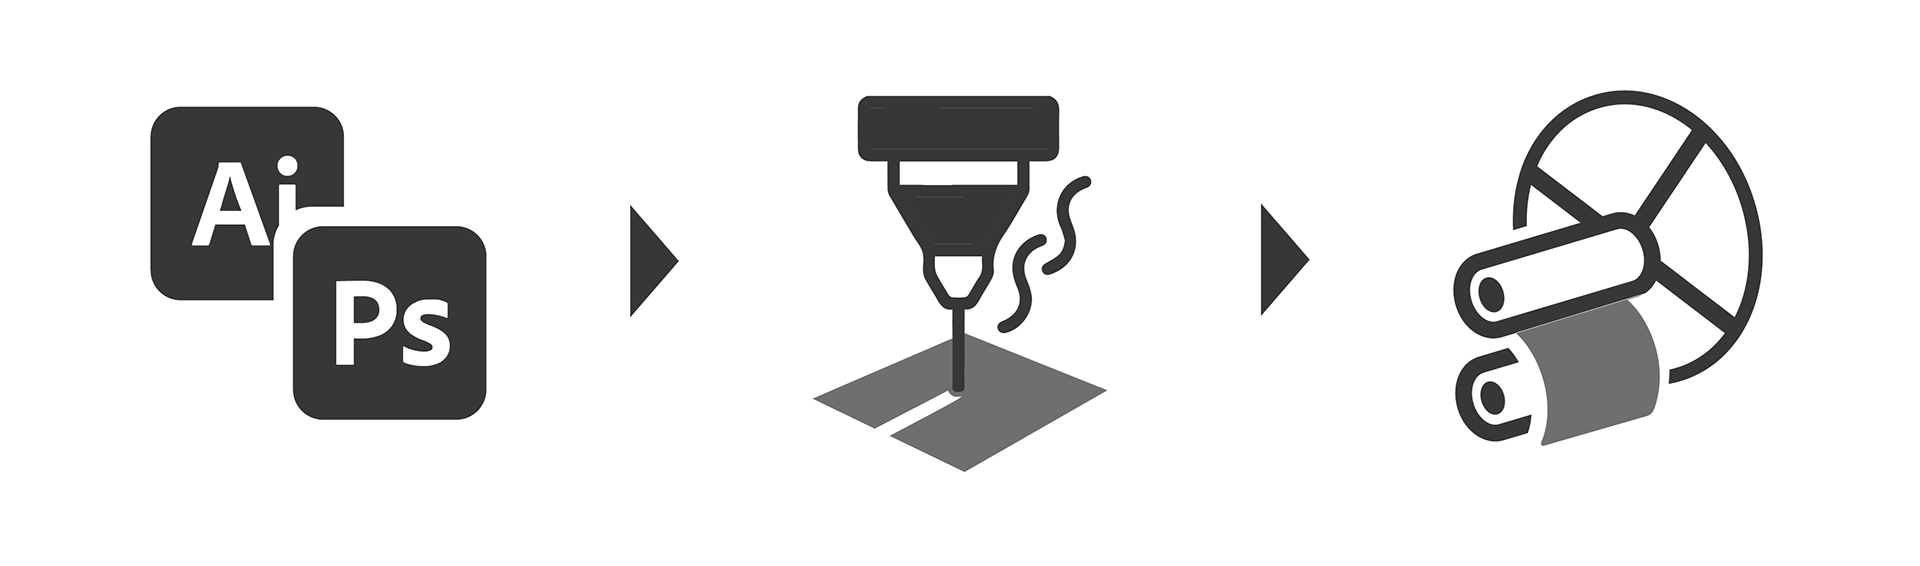
Step 1 - Creating your Artwork
To ensure your artwork is compatible with the laser cutter, your design can be saved using Adobe Illustrator or Photoshop. The laser cutter requires a certain type of file, allowing it to recognise the cutting path you require the Laser to follow and cut. These files can be .ai or .eps
If you require help with your artwork and file format, you can access useful guidelines below. Alternatively you can email the 'CAT Support' team using the button below and arrange a one on one if you require further guidance.
Step 2 - Laser cutting your Artwork
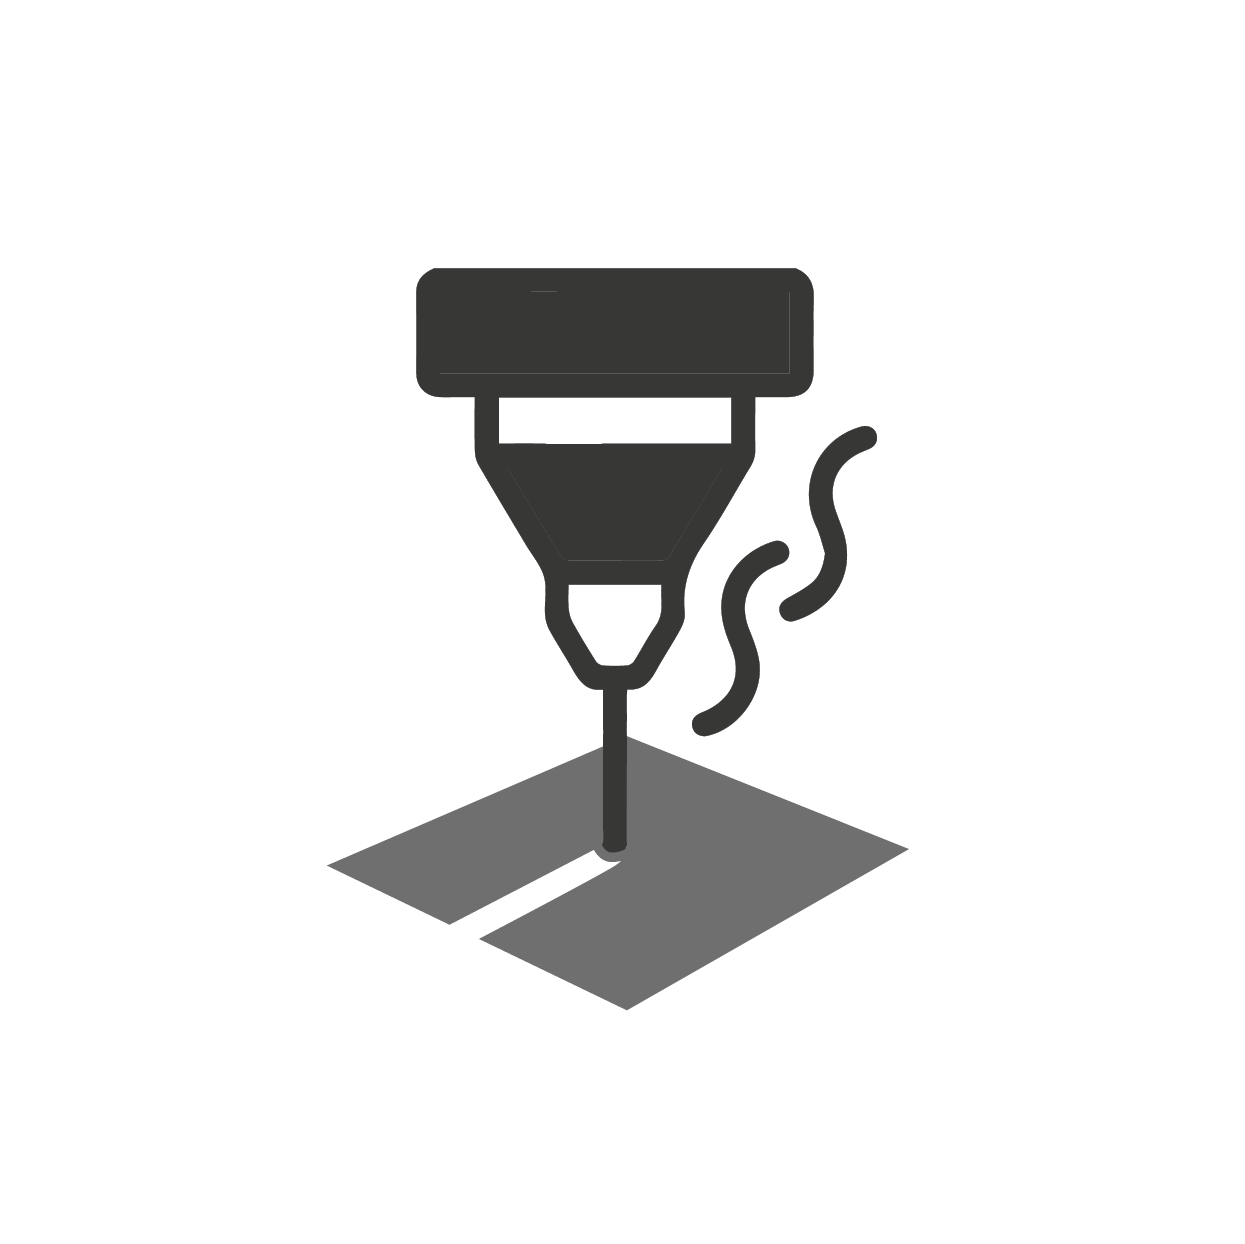
Laser cutting is a bookable service located in Bonington 004. You will need to provide your artwork in a Laser cutter friendly file and the material you wish to be laser cut in this case mount board, which can be purchased from Bonington Art Shop.
All Laser related Info can be found by clicking the button below.
Step 3 - Using the printing press
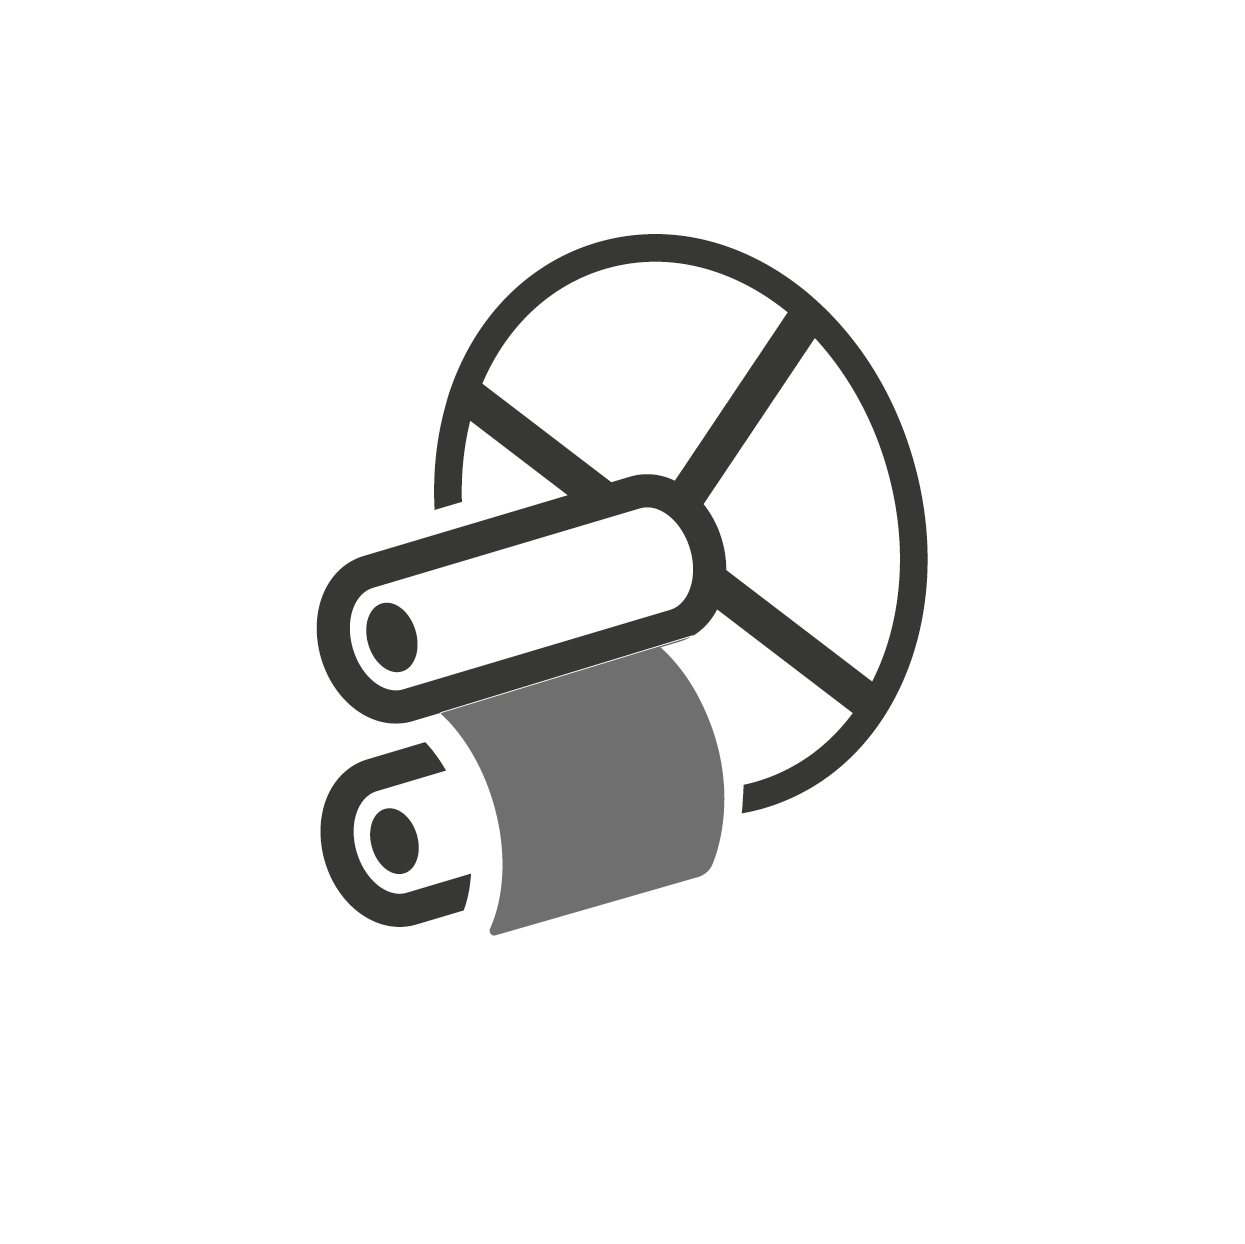
When your laser cut is complete you are now ready to book in and use one of the print presses (printmaking slot) located in Bonington 157. If this is your first time using the Print Room you will require a short induction which will be carried out by one of the Print Support staff at the beginning of your booking.
Please book your first session with Support Staff.
During your induction we will talk you through the details shown here in the 'Embossing Quick Guide'. Please use this resource as a memory aid if needed.
Here after, you can book 'No Assistance Required' and won't require one on one support, unless you request it. However, if you are ever unsure, even about something small, please ask!